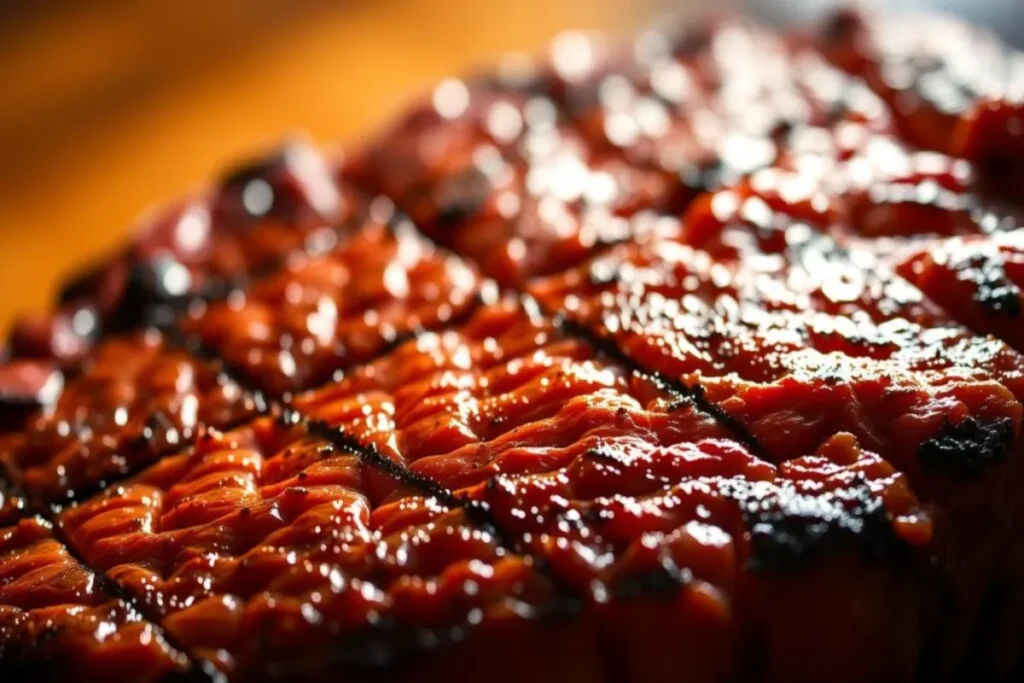
Ever cut into a steak and found it not as juicy as you wanted? You sear it to perfection, but you wonder, what does just seared mean? This article Searing in cooking will clear up the mystery of searing, showing you how to make perfect seared meat. Searing is an art that boosts your dish’s taste, texture, and overall experience.
In this quick guide, you’ll learn about searing and how it can make your cooking better. You’ll know how to serve dishes that everyone will love.
Table of Contents
Understanding the Searing Process
Searing is a key cooking technique that boosts flavor and texture. It involves cooking the meat’s outer layer at high heat, creating a golden-brown crust. This crust not only looks good but also enhances taste through the Maillard reaction.
Learning about searing can improve your cooking. It helps you make dishes that are full of flavor and have a great texture.
What is Searing?
Searing is cooking meat over high heat with a bit of fat to create a crust. This crust locks in juices. The process happens at temperatures between 375°F and 400°F, making the outside caramelized.
Heat triggers chemical reactions that create complex flavors. Knowing how to sear is key for perfecting meat dishes.
Importance of Searing in Cooking
Searing is very important. It makes meat taste better, making it juicier and more appealing. It also helps keep moisture in, keeping the meat juicy.
The fond from searing is great for sauces, adding depth to your dishes. Mastering searing is essential for cooking meat well, making meals more enjoyable.
How to Achieve the Perfect Sear
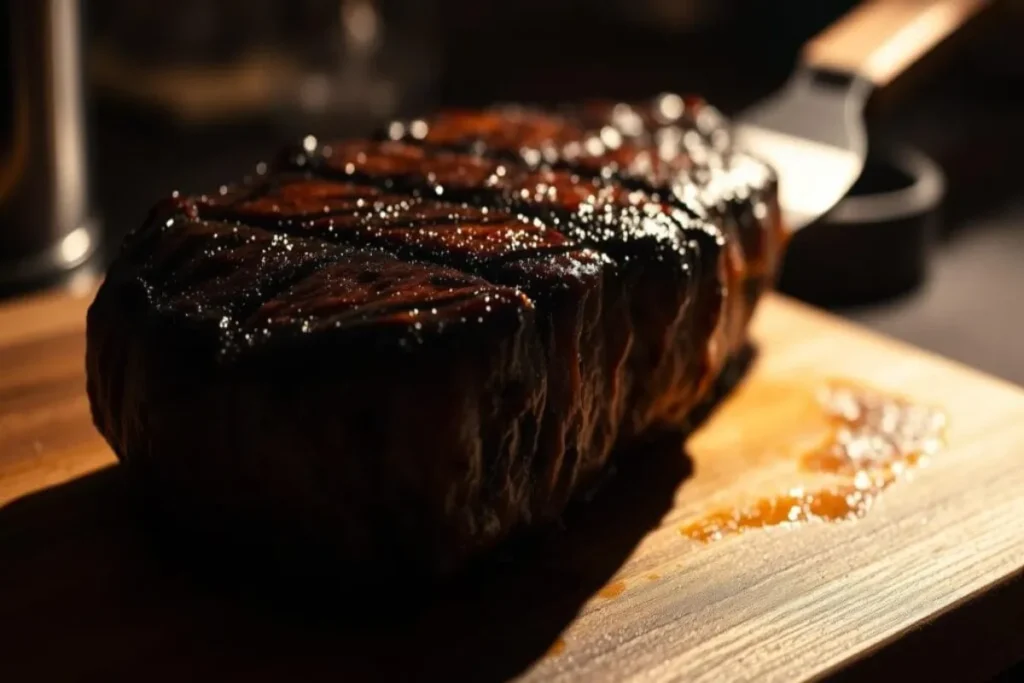
Choosing the right cookware is key to a perfect sear. The best pan for searing can greatly improve your meat’s flavor and texture. High-quality pans, like those from Scanpan, heat up quickly and distribute heat evenly.
Choosing the Right Pan
Cast iron and nonstick pans are great for searing meat. Cast iron keeps heat well, creating a golden crust. Scanpan’s nonstick pans also conduct heat well, allowing for a perfect sear at medium heat.
This means you can sear without overcooking your meat. Using a Scanpan ensures a great sear without burning your meat.
Ideal Cooking Temperature for Searing
The right temperature for searing is around 500°F. Preheating your pan to this temperature helps brown the meat surface quickly. This enhances its flavor.
Searing should take about 2-3 minutes on one side before flipping. This ensures a beautifully browned exterior and a juicy interior. If you add butter, aim for a temperature of around 225°F to prevent burning and add flavor.
| Steak Doneness | Internal Temperature (°F) | Recommended Resting Time (Minutes) |
|---|---|---|
| Rare | 120–125 | 5 |
| Medium Rare | 130–135 | 10 |
| Medium | 140–145 | 10 |
| Medium Well | 150–155 | 10 |
| Well Done | 160–165 | 10 |
Mastering searing techniques and knowing the right tools and temperatures can make your cooking top-notch. It shows off your culinary skills with a perfect sear.
What Does Just Seared Mean?
The term “just seared” is well-known in cooking. It means the meat has a golden-brown crust but is mostly raw inside. This method brings out a deep flavor, thanks to the Maillard reaction.
Definition of Just Seared
The just seared meaning is about getting a crispy, flavorful outside without cooking the inside fully. The sear definition is about using high heat to brown the meat. This makes the meat taste and feel better than other cooking methods like boiling or steaming.
Differences Between Just Seared and Other Methods
Knowing the difference between seared vs. grilled can change your cooking results. Grilling cooks meat over direct heat for a longer time, giving it a unique taste and texture. Just searing, on the other hand, uses quick, high heat to create a crust while keeping the meat juicy. This way, you get a better flavor and a juicier final dish.
Essential Equipment for Searing Meat
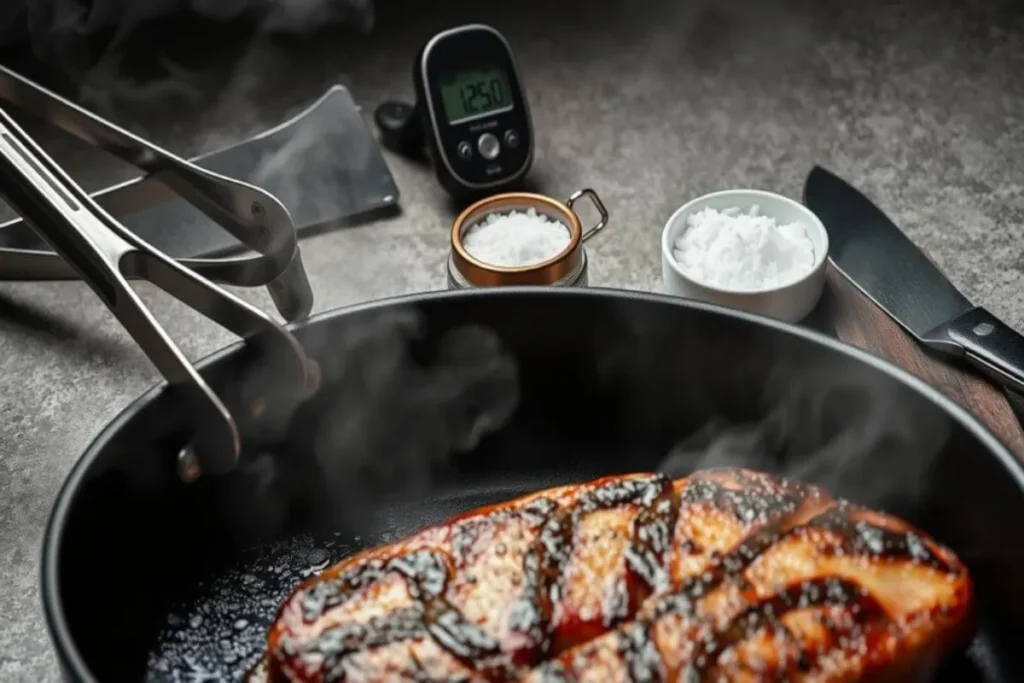
To get the perfect sear on your meat, you need the right tools. The cookware and tools you choose can make a big difference. Here are some top picks to help you cook better.
Recommended Cookware for Searing
A heavy-bottomed cast-iron skillet or a high-quality stainless steel pan is best for searing. These materials keep heat well and distribute it evenly. This helps you get a great brown color on your meat.
Scanpan cookware is great for searing. It gets hot fast and evenly, so you don’t need to crank up the heat. This means you can get that beautiful golden crust on your meat.
Tools and Accessories You’ll Need
Along with the right cookware, you’ll need some essential tools. These tools will make searing meat easier and more effective:
- High-quality tongs: These are vital for moving meat safely and easily in the pan.
- Digital instant-read thermometer: Use this to check if your meat is cooked right.
- Splatter guard: It keeps your cooking area clean by catching oil spray.
- Paper towels: Dry your meat well before cooking. Moisture can stop it from browning properly.
Using the right cookware and tools will improve your searing skills. It will also make cooking more enjoyable. With these tips, you can make food that tastes like it came from a restaurant.
Preparing Your Steak for Searing
Getting your steak ready for searing is all about picking the right cut and following key steps before cooking. The right cut is not just about taste but also tenderness. For the best results, go for cuts like ribeye or strip steak, known for their marbling.
Selecting the Right Cut of Meat
When picking a cut for searing, think about thickness and marbling. Choose steaks that are 1 to 1.5 inches thick. This thickness helps get a perfect sear and keeps the inside juicy. Premium cuts like ribeye, strip steak, and sirloin are top choices because of their marbling. It boosts flavor and tenderness.
Essential Pre-Cooking Steps
Before you start cooking, make sure to follow these important steps:
- Take the steak out of the fridge 30-60 minutes before cooking. This lets it warm up to room temperature, helping it cook evenly.
- Make sure the steak is dry. Pat it with paper towels to remove excess moisture. This is key for a great crust during searing.
- Season the steak well with salt at least 40 minutes before cooking. This adds flavor through a salt brine effect.
- Use a cast iron pan for searing. It’s recommended for its ability to hold heat well.
Techniques for Successful Searing
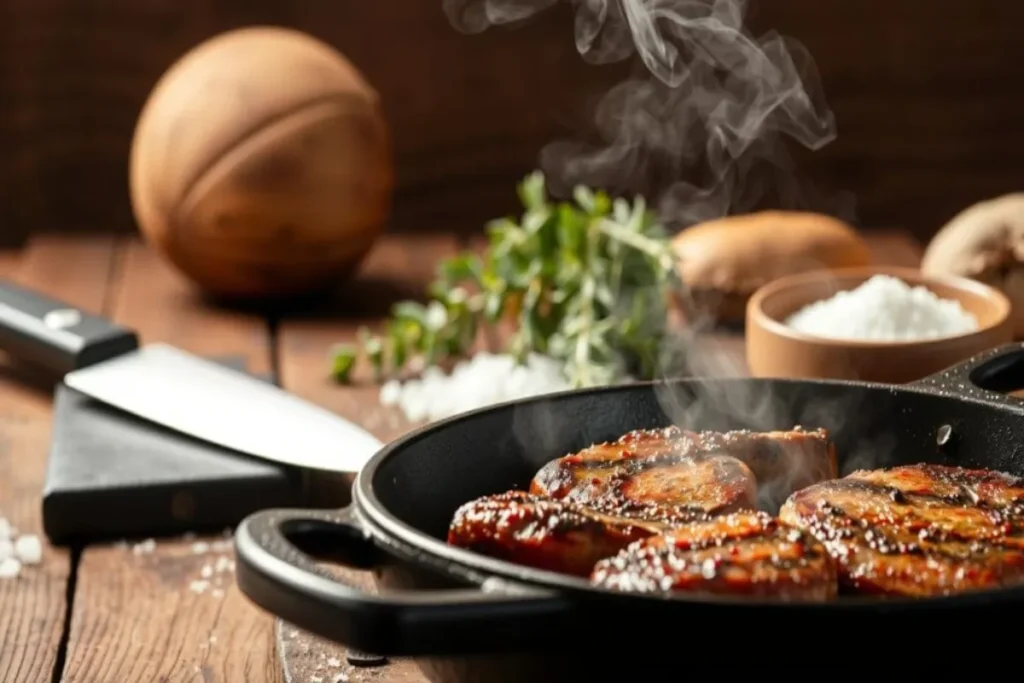
A perfect sear needs precision and detail. Two key steps are drying the meat and seasoning it right. Mastering these will make your dishes delicious.
Drying the Meat Before Cooking
It’s important to dry the meat before searing. Moisture can stop a good crust from forming. Use paper towels to dry the steak well.
This step is key for a great sear. It helps the meat caramelize when it hits the pan.
Proper Seasoning Methods
Seasoning boosts the meat’s flavor. Use simple methods for the best taste. Kosher salt is a good choice, applied 40 minutes to overnight before cooking.
Steer clear of complex marinades. They can mess up the crust. A sprinkle of salt and black pepper before searing will make your dish pop.
| Technique | Description | Benefits |
|---|---|---|
| Drying Meat | Patting the surface dry using paper towels. | Promotes crust formation and prevents steaming. |
| Seasoning | Applying kosher salt several hours before cooking. | Improves flavor and maintains moisture during cooking. |
Common Searing Mistakes to Avoid
Searing is an art that can be easily ruined by a few common mistakes. Understanding this technique helps you get that perfect crust and boost flavor. Avoid these pitfalls to dramatically improve your results.
Overcrowding the Pan
One big issue is overcrowding the pan. Too many pieces of meat can lower the temperature, leading to steaming instead of browning. To avoid this, sear in batches or use a larger pan. Make sure to leave at least one inch of space between each piece.
This small change will help the Maillard reaction. It will give you a beautifully crispy exterior.
Using the Wrong Type of Oil
Choosing the wrong oil is another common mistake. Using oils with low smoke points can burn quickly and taste bad. It’s important to use the best oil for searing.
High smoke-point oils like avocado, canola, or vegetable oil are great choices. They can handle high heat without burning. Use fats like butter at the end for rich flavor without burning.
Mastering Different Searing Methods
Learning to sear meat right is key to better flavor and texture. Pan-searing is a classic way to get a quick, tasty crust on steaks. But, the reverse searing method is also popular. It’s great for bigger cuts of meat and is easy to master.
Traditional Pan-Searing Technique
For pan-searing, use a cast iron skillet heated high. Start with avocado oil for a good sear. Flip the steak often to cook evenly. This method is perfect for steaks up to one inch thick, making them juicy inside and crispy outside.
Reverse Searing for Thicker Cuts
Thicker steaks need the reverse searing method. Cook them low in the oven or on the grill until they’re almost done. Then, sear them hot in a skillet or grill. This way, you get a great crust and even cooking.
Here’s a quick guide to cooking times and temperatures:
| Technique | Ideal Thickness | Initial Cooking Temp (°F) | Searing Temp (°F) | Internal Temp for Medium-Rare (°F) | Resting Time |
|---|---|---|---|---|---|
| Traditional Pan-Searing | 0.75 – 1 inch | High (approx. 400°F) | 500 – 600°F | 130 – 135°F | 5 – 10 minutes |
| Reverse Searing | 1.5 – 2 inches | 275 – 300°F | 500 – 600°F | 130 – 135°F | 10 minutes |
Try both pan-searing and reverse searing to improve your cooking. Each method has its own charm. Find what works best for you and boost your cooking skills.
Searing Different Types of Meat
Each meat type needs its own searing method for the best taste and texture. Searing beef aims for a tasty crust and a soft inside. Searing pork and poultry requires careful moisture control and timing, as they dry out fast.
Beef: Searing Techniques for Steak
For steak, choose a high-fat cut like ribeye for the best sear. Let your steak warm up 30-60 minutes before cooking. This helps it cook evenly.
Heat your pan for 2-3 minutes until it’s hot. Add a bit of oil to help it get hotter. Sear the steak for 2-3 minutes on one side, then flip it once for the best results.
Don’t salt the steak right before cooking to avoid a gray ring. Cook it to 130 degrees Fahrenheit for a medium steak. This allows it to cook a bit more after flipping.
Pork and Poultry: Specific Considerations
Searing pork needs extra care because it has less fat than beef. Try brining or marinating it first to add moisture and flavor. Start by heating your pan for 2-3 minutes.
For poultry, focus on cooking it through instead of just searing it. Chicken breasts might need to finish in the oven at 400 degrees Fahrenheit. They cook in about 5-10 minutes, depending on their thickness.
Always let your cooked meats rest for 5-10 minutes. This lets the juices spread out, making the meat tender and flavorful.
Finishing Touches Post-Searing
After getting that perfect sear on your meat, it’s key to follow some important steps. Letting the meat rest greatly improves its flavor and tenderness. This resting time allows juices to spread evenly, making the meat juicier and tastier.
A rest of about 10 minutes is best for most cuts. It ensures every bite is juicy and delicious.
Allowing Meat to Rest
Resting meat is very important. For steaks, it helps keep moisture in, so juices don’t run out when you slice. This simple step makes your meal more enjoyable.
If you skip this, your meat might end up dry. This can ruin the taste of your dish.
How to Slice for Maximum Tenderness
Proper slicing is also key. Always cut your meat against the grain. This makes each piece softer to chew.
Knowing the grain direction helps your slices stay tender. Mastering these techniques makes your cooking stand out, leading to great meals.
Conclusion
Mastering searing at home is key to better flavor and texture in meats. Understanding the searing process and using the right techniques is important. This includes choosing the right steak thickness, usually 1 to 1.5 inches.
Effective cooking techniques like searing make any meal special. Remember, patience and practice are essential. Whether you’re searing beef, pork, or poultry, letting the meat rest after searing is vital. This step enhances flavor and juiciness.
By using these tips, you’ll improve your cooking skills. Your meat will look great and taste amazing. Start your searing journey today. Each try will bring you closer to perfect results in your kitchen.
FAQ
What is the searing cooking technique?
Searing is a cooking method. It cooks the meat’s outer surface at high heat. This creates a golden-brown crust, improving flavor and texture.
What does “just seared” mean?
“Just seared” means the meat has a golden crust but is not fully cooked inside. It focuses on adding flavor and keeping moisture.
How can I achieve the perfect sear?
For a perfect sear, preheat a heavy skillet to 375°F. Use oil with a high smoke point. Make sure the meat is dry before cooking.
What is the difference between seared and grilled meats?
Searing creates a crusty exterior with enhanced flavors. Grilling cooks the meat evenly, often adding a smoky taste.
What temperature is ideal for searing?
The best searing temperature is at least 375°F. This helps in browning and flavor development without burning the meat.
What equipment do I need to sear meat effectively?
You’ll need a heavy-bottomed skillet or stainless steel pan. Also, high-quality tongs, a digital thermometer, and splatter guards are essential.
What common mistakes should I avoid when searing?
Don’t overcrowd the pan, as it can steam instead of brown. Also, avoid using oils with low smoke points, as they can burn and ruin flavor.
What are some techniques for searing different types of meat?
For beef, aim for a crust without overcooking. For pork and poultry, brining or marinating helps retain moisture and flavor.
How important is resting meat after searing?
Resting meat after searing is key. It allows juices to redistribute, making the meat juicier. Rest for 5-10 minutes.
What are the finishing touches after searing?
After searing, slice the meat against the grain. This makes it tender and easier to chew, improving the eating experience.
For more delicious recipes and kitchen inspiration, stick around and explore our other articles.
Print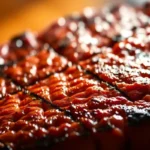
Just Seared Explained: Quick Guide to Cooking
Description
Seared Ahi Tuna is a quick, elegant dish that highlights the rich, buttery texture and delicate flavor of high-quality tuna steaks. Perfectly seared on the outside and tender on the inside, this recipe is ideal for both casual meals and special occasions. Paired with fresh sides or flavorful sauces, it’s a healthy and versatile option for seafood lovers.
Ingredients
2 (6-ounce) sushi-grade Ahi Tuna steaks- 2 tablespoons soy sauce
- 1 tablespoon sesame oil
- Juice from 1 lime
- 1 teaspoon finely grated ginger
- Salt and pepper, to taste
- 1 teaspoon sesame seeds (optional, for garnish)
- 1 tablespoon chopped green onions (optional, for garnish)
Instructions
- Prepare the Tuna : Pat the Ahi Tuna steaks dry with a paper towel to ensure proper searing. Season lightly with salt and pepper.
- Marinate : In a bowl, mix soy sauce, sesame oil, lime juice, and grated ginger. Add the tuna steaks and marinate for 15–30 minutes in the refrigerator.
- Heat the Pan : Heat a non-stick skillet over high heat until very hot.
- Sear the Tuna : Remove the tuna from the marinade and sear for 1–2 minutes on each side, depending on thickness. The goal is to achieve a crispy crust while keeping the center rare.
- Rest and Slice : Let the tuna rest for 2–3 minutes before slicing thinly against the grain.
- Garnish and Serve : Sprinkle with sesame seeds and chopped green onions if desired. Serve with your choice of sides or dipping sauces.
Notes
Always use sushi-grade Ahi Tuna for safety, especially if serving it rare.- Avoid overcooking the tuna to prevent it from becoming dry.
- Marinating time should not exceed 30 minutes to avoid altering the texture of the fish.

